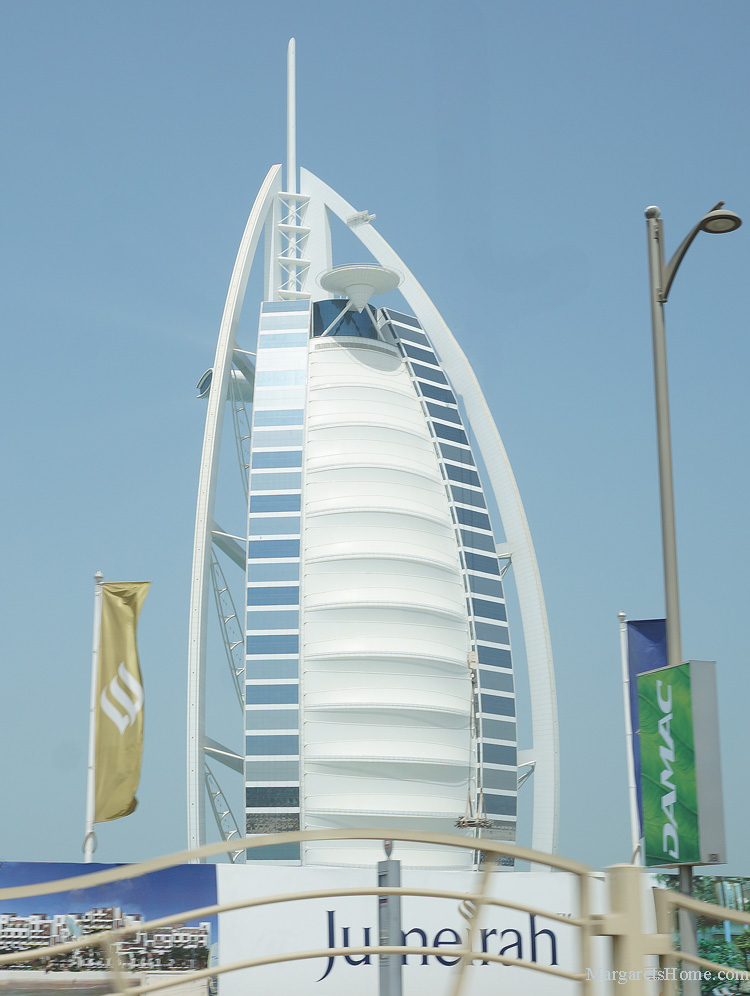
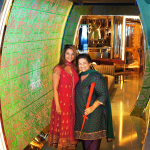
My daughter and I celebrated my birthday with afternoon tea at the world’s only seven star hotel, the Burj Al Arab, in Dubai, on September 17, 2014. It was a lavish, over-the-top, ostentatiously rich, once-in-a-lifetime experience that was worth every ounce of gold that we spent!
Our reservations were made way in advance with a telephone call to the Skyview Bar, one of the restaurants, at the Burj Al Arab. We had our confirmation by email in a matter of minutes. Unless you are a hotel guest, there is no other way you could even go close to this magnificent, sailboat-shaped, hotel.
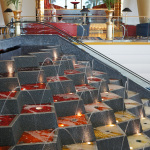
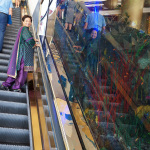
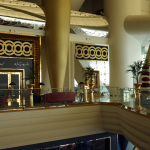
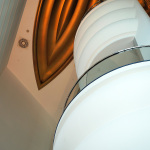
Upon arrival by taxi, security at the entrance bridge requested our reservation confirmation and then welcomed us in. We were an hour early which gave us ample time to take photographs, enjoy the deluxe ambiance of the lobby, and its built-in aquarium walls.
-
- Entrance
-
- Fountains
-
- Lobby
-
- Aquarium
-
- Stores
-
- Restaurant
-
- Gold everywhere
-
- Guest room balcony
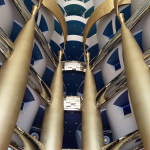
-
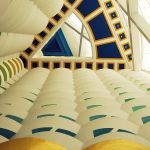
- Atrium
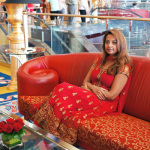
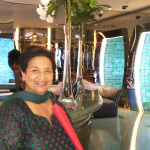
We made our way to the 27th floor of the Skyview Bar and entered a gold lobby. We were the first to arrive and it’s worth noting that they seat tables in order, starting with the best tables by the windows.
-
- View from Gold Lobby
-

- Gold Lobby Elevator
-
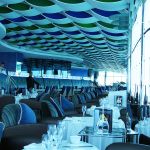
- Skyview Bar
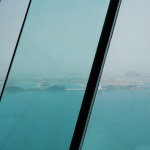
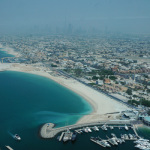
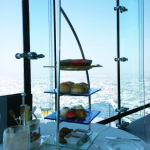
We had a table with stunning aerial views. To my left, I could see the hotel Atlantis rising from the Arabian Gulf, the man-made island of Palm Jumeirah, and the wave-shaped Jumeirah Beach Hotel. To my right, was the harbor, the impressive architectures of downtown Dubai, and when the clouds parted, we caught glimpses of the world’s tallest building, the Burj Khalifa of which I am in total awe.
-
- Hotel Atlantis & Palm Jumeirah
-
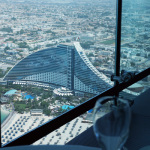
- Jumeirah Beach Hotel
-
- Harbor
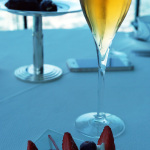
We watched as other guests arrived and were ushered to their tables. Everyone was dressed a little more formal than the, “smart casual” dress code that was specified. The room exuded an air of luxury and grandeur, and we were attended to like royalty. The waiter welcomed us and offered us a glass of Louis Roederer Brut Champagne. We requested non-alcoholic drinks and he offered us a drink made with dates. We were also offered a plate of fresh dates. Some filled with almonds and others with candied orange peel.
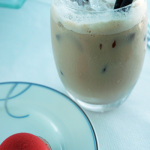
Before we knew it, the second course of berry tarts arrived and we ordered our tea from a menu of more than 50 varieties! I chose the Superior Oolong and Jyoti chose the Jasmin Pearls. There was plenty of time to taste the other teas, flavored ice teas, espressos, cafe lattes, hot chocolates, and chilled fantasies, during the seven courses.
-

- First Course
-

- Happy Birthday Mom
-
- Berries and Cream Tart
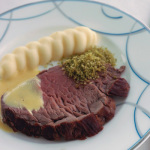
The next course was the Chef’s Carvery of the Day. This was melt-in-the mouth beef with silky mashed potatoes, both served warm.
Next, the waiter brought out a two-tiered stand that was shaped like the Burj Al Arab. The blue glass plates had finger sandwiches with egg, smoked salmon, cucumber and cream cheese, and vegetable fillings. As we ate, the plates with the sandwiches and our tea cups were continuously refilled.
-
- Chef’s Carvery of the Day
-
- Finger Sandwiches
-

- Tea
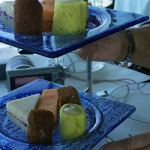
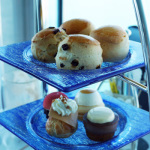
The next course of mini patisseries, petits fours, and scones came on a three-tiered platter. Again, the platter was shaped like a sailboat resembling the Burj Al Arab. The scones were served with Devonshire clotted cream and three kinds of jam – rose petal and strawberry, date, and passion fruit. I enjoyed the scones and crème brûlée the most. We couldn’t eat all the offerings so we had just a little bite of them.
-
- Mini Patisseries
-
- Scones
-
- Dessert
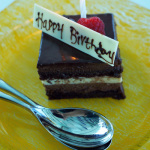
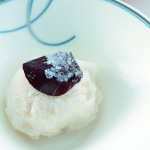
I thought we had come to the end of our afternoon tea, when they brought in chocolate cake with a candle, along with a long-stemmed red rose to celebrate my birthday. The grand finale was a lychee and rose sorbet. The sorbet was a perfect palate cleanser and an appropriate ending to a decadent afternoon tea. Before we left, they surprised us with two boxes of chocolates that we could take home.
-
- Happy Birthday to Me
-
- Lychee and Rose Sorbet
-
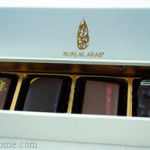
- Take-away Box of Chocolates
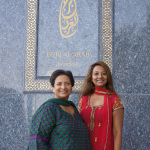
Tea at the Burj Al Arab is expensive, but it is a great once-in-a-lifetime experience. I highly recommend it, if you are visiting Dubai. It was fun, the view was amazing, and my daughter and I had an unforgettable time together. I will certainly treasure the memory forever!
-
- Thank you Jyoti
-
- Good-bye Burj
-

- If wishes were horses. . .